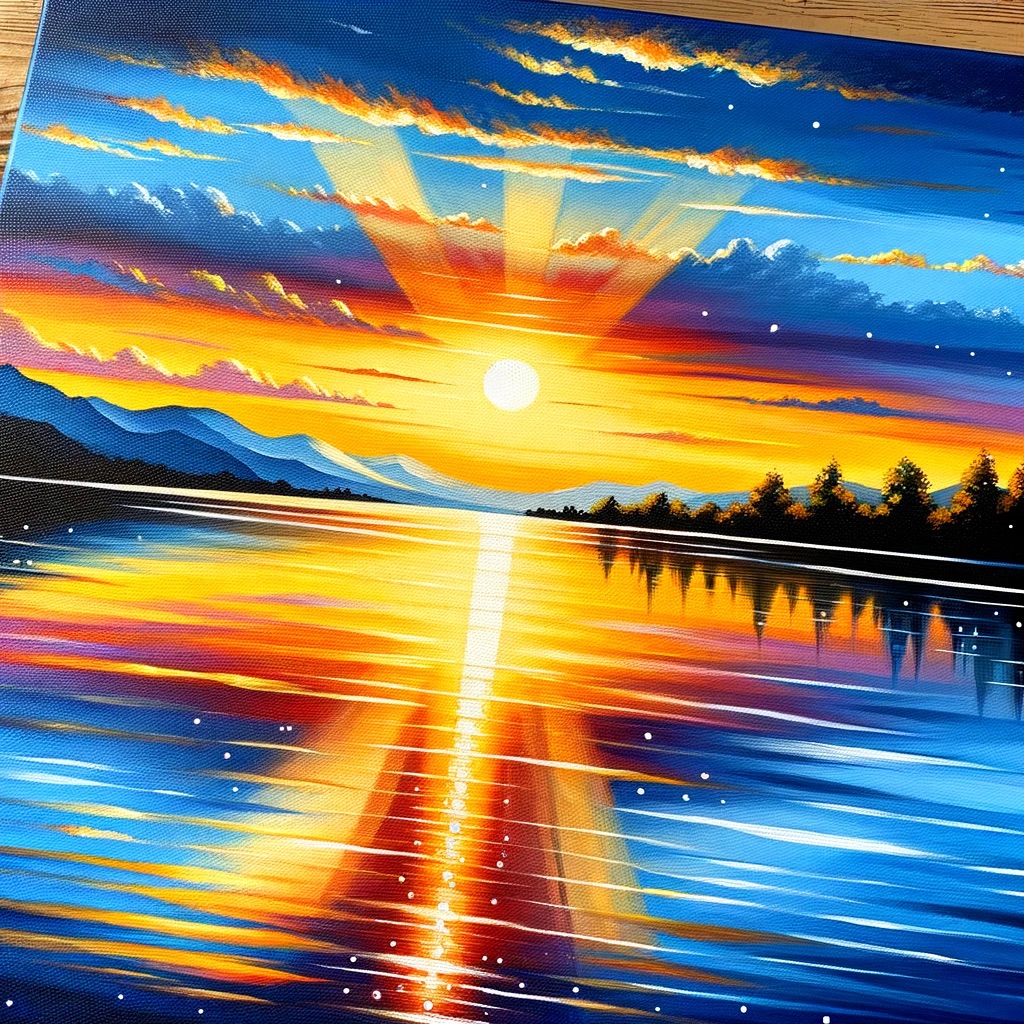
How to Draw a Sunset Lake with Acrylic Paint for Beginners

Materials Needed
– Acrylic paints (primary colors, black, and white)
– Paintbrushes (variety of sizes)
– Canvas or painting paper
– Palette
– Water cup
– Paper towels
Step-by-Step Guide
Step 1: Prepare Your Workspace
Set up your workspace with all materials within reach. Protect your surface with newspaper or a plastic cover.
Step 2: Sketch the Outline
Lightly sketch the horizon line and any key elements (trees, mountains, etc.) on your canvas using a pencil.
Step 3: Paint the Sky
1. Base Color: Mix white with a tiny bit of blue to create a light sky color.
2. Gradient: Gradually add more blue as you paint upwards to create a gradient effect.
3. Sunset Colors: Add shades of yellow, orange, and red near the horizon to represent the sunset.
Step 4: Paint the Water
1. Reflection: Use the same colors from the sky to paint the water, mirroring the gradient.
2. Blend: Blend the colors smoothly to create a reflection effect.
Step 5: Add Details
1. Mountains/Trees: Use darker shades to paint silhouettes of mountains or trees along the horizon.
2. Reflection of Details: Paint reflections of these elements in the water.
Step 6: Highlights and Finishing Touches
1. Highlights: Add white highlights on the water to represent the sun’s reflection.
2. Final Details: Adjust any areas for better blending and add final touches to enhance the overall look.
Tips
– Keep your brush strokes smooth for a natural look.
– Use a clean brush when transitioning between colors to avoid muddying.
– Practice blending techniques on a separate paper before applying to the canvas.
Conclusion
Creating a sunset lake acrylic painting can be a rewarding experience for beginners. With practice, you’ll improve your technique and develop your own unique style.
For more detailed tutorials and visual guides, visit our blog at [Sultan of Arts](https://www.sultanofarts.com). Happy painting!


